Openers · Clarkson
Photo-Eye Sensor Alignment or Replacement in Clarkson
After a cold night the door stays open until the garage warms up. There is frost on the sensor lenses and a ridge of salty slush piled against the brackets where the snow blower was parked.
Photo-Eye Sensor Alignment or Replacement
In plain words
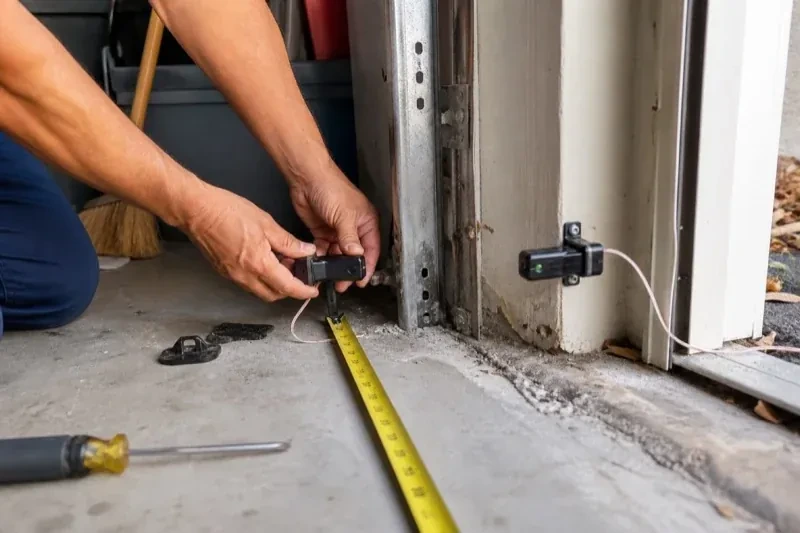
Two small sensors face each other across the doorway: one sends an infrared beam, the other receives it. While the beam lands on the receiver, the opener will close the door; the moment anything interrupts it, the door stops and returns to open. Every sensor call comes down to why the receiver has lost the beam: an object, a bent bracket, a dirty or frosted lens, sun in the receiving eye, a broken wire or a tired sensor. The technician works through those in order, fixes the one that applies, and shows you the steady indicator lights that mean the pair is talking again.
How the visit goesYou press the remote, the door drops a few centimetres, then climbs straight back to the top while the opener light blinks. Nothing is under the door. It has done this every evening this week.
Clarkson
How the visit goes
Reading the two small lights
Most sensor pairs carry an indicator on each side, though some older models light only the receiver, so the technician checks that model's own chart first. On most openers the sending eye shows one colour and the receiving eye another, and both should glow without a flicker. If the sending light is steady and the receiving light is dark or blinking, the beam is not landing where it should: misalignment, an obstruction or a dirty lens. If both are dark, the pair has no power, pointing up the wire to a cut, a loose terminal or reversed connections. The technician also nudges each bracket gently while watching the light; a flicker on touch means a loose mount.
Straightening or replacing the brackets
A bent bracket is straightened where the metal allows and replaced where it has cracked or rusted through. New brackets are chosen to suit the mounting: a track-mounted clip that rides the vertical rail, or a right-angle bracket anchored to the wall or the concrete where the track sits too far back. Fasteners that vibrated loose are replaced with the right carriage bolts and wing nuts rather than reused. Where a bracket has been sitting in salt slush every winter, it is set a touch higher within the permitted range and the mounting is sealed against the wall so water stops running behind it.
The monthly beam test
The habit worth keeping takes about a minute. Once a month, with the door open, press close on the wall control and, as it moves down, pass a broom handle through the beam near the floor. The door should stop and climb back to fully open. Then lay a 2x4 flat under the middle of the door and close onto it; the door should touch it and reverse. If either test fails, stop using the opener; close the door first if it is not already closed, then use the manual release, and get help moving it by hand if it feels heavy or will not hold. A door that passes both tests is doing its job.
Photo-Eye Sensor Alignment or Replacement
In the van
- 2x4 test block
- Wing nuts and carriage bolts
- Wire connectors
- Protective wire channel
- Concrete anchors
What affects the quote
Same fees day, night or weekend
1Protecting exposed wire
On a wall where the wire runs in the open, a slim protective channel or a re-route higher along the wall keeps bins, bikes and mice away from it, and is quoted as its own line.
2Door-side findings
A balance problem, a stiff roller or a bottom seal that needs replacing sometimes shows up during testing. Those belong to their own service and are noted and quoted separately rather than hidden in the sensor work.
3Number of doors
Each opener has its own sensor pair and wire run, so a double garage with two doors is two sets of checks, two possible pairs and two rounds of testing, quoted per door.
Photo-Eye Sensor Alignment or Replacement: questions
How should I clean the lenses?
Gently, with a soft dry or lightly damp cloth, the way you would clean eyeglasses. Never scrape a lens or use a solvent, since a scratched or clouded lens scatters the beam. Wipe both sensors, then check that the receiving light comes on steadily. If a lens frosts on cold mornings, give it a few minutes to clear or dry it with a cloth. A quarterly wipe keeps dust, cobwebs and salt film from building up.
What tests are done before the technician leaves?
Two, and you are invited to watch. With the door closing, an object is passed through the beam and the door has to halt and climb back to the top. A 2x4 laid flat beneath the door's centre comes next; closing onto it must make the door back off on contact. The door is also run from the wall control and a remote, the opener's warning flashes are confirmed gone, and both sensor lights are shown steady.
Can the sensors be mounted on the wall instead of the track?
Track-mounted clips are the preferred, manufacturer-recommended arrangement. A wall-mounted angle bracket is the next choice where the track sits far back from the opening or the clip keeps getting bumped; mounting to the concrete floor is kept as a last resort, used only when the sensor's own instructions allow it. The same rules apply: both sensors at a matched height no higher than about 15 cm, level, facing each other, with the wire secured. Wall mounting sometimes gives a cleaner beam line on older doors with unusual track layouts.
Openers & Access
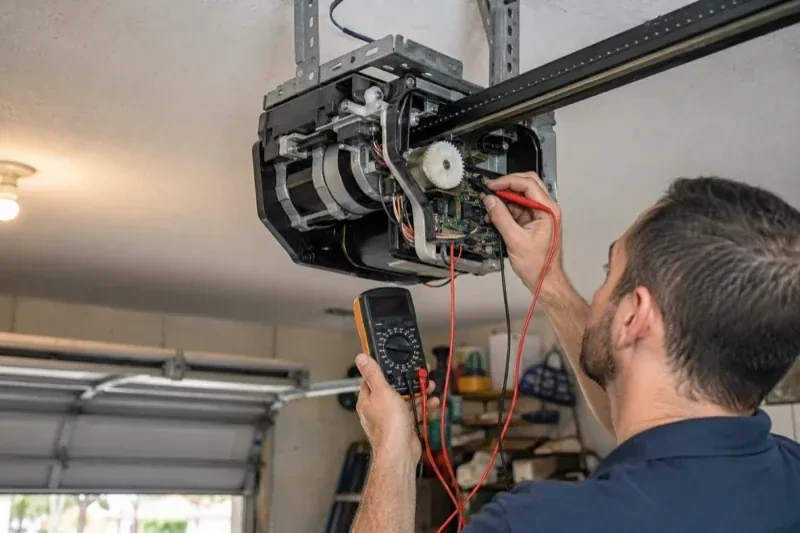
Photo-Eye Sensor Alignment or Replacement near you
The garage door services we bring to Clarkson fall into four groups: repair and maintenance for doors that are sticking or noisy; springs and lifting hardware; openers, remotes and access; and new door installation or upgrade for homes and businesses that are ready for a change.